Island Makeup Artist – Savannah Belsher-MacLean – Bridal

Check out these gorgeous photos (by Katelyn Fraser Photo) of bride Jaclyn and her bridal party that I had the pleasure of doing makeup for!


Savannah Belsher-MacLean is now listed on IMDB!

I’m SUPER excited to announce that my IMDB PRo page is now active!!

CHECK IT OUT!!


DIY Project – Repurposed Lampshades

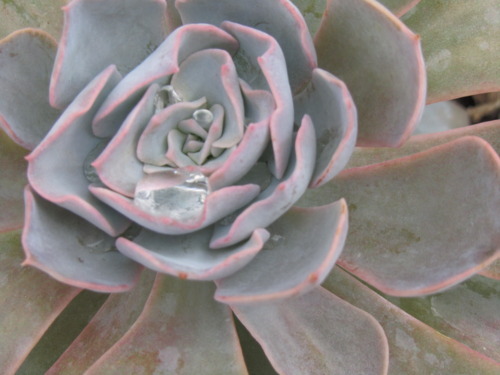
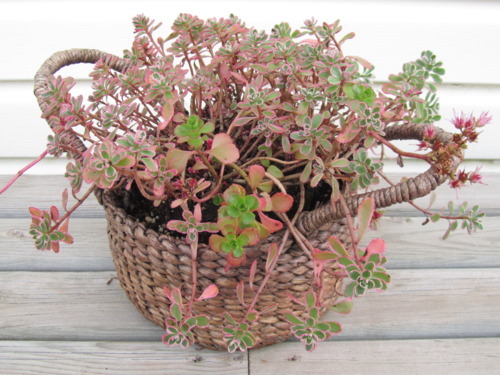
I meant to post this a few months ago when I created these lovely things, but I lost track of the summer months and, alas, my poor plants are sunburned and not quite as lovely as they once were…Regardless of their state and my lack of proper plant-loving skills, I’ll share this easy and oh-so pretty way to add some foliage to your deck.

One of the more popular finds at thrift shops these days are those lovely milk bottle vases. Often found on blogs of vintage-inspired wedding themes, these crisp white vases match any decor colour and just look so classic and romantic.

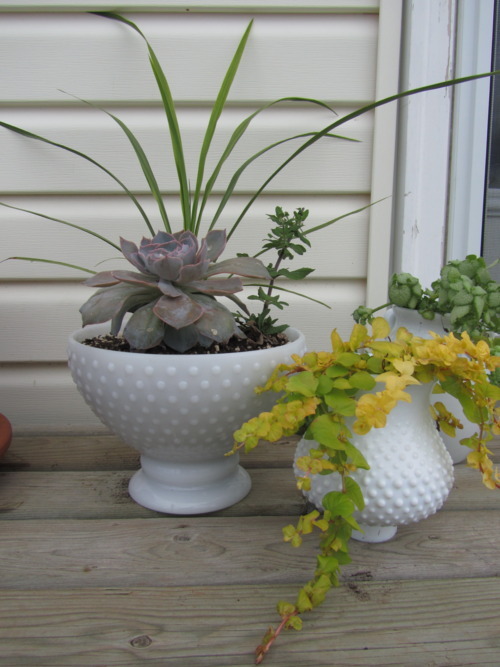
While I have a couple of the vases, I don’t have a lot of use for the lamp shades that match. Or so I thought! My creative thinking kicked in one afternoon while thrift store shopping when I saw a couple of these glass shades in different shapes and sizes. Here’s what I came up with.

My husband and I have a fairly eclectic taste when it comes to home decor, and since we live in an updated farmhouse, mixing sleek, modern materials and more rustic fibres is a fun way to keep things interesting.

Here’s another thrifty discovery that also works as a planter.


DIY Project – Mission: ECMA Pop Star

My husband, Todd, is a member of the indie pop band English Words. Over the months leading up to their ‘big reveal’ at the East Coast Music Awards 2011, the band was working extremely hard: writing new songs, reinventing their sound and creating new imagery for their live shows. Part of this visual atomic bomb was their wardrobe.

Now, I may be a little (okay, a lot) biased, but Todd’s already a fairly stylish guy, so when he asked for some help in the wardrobe department, I figured it was going to be easy as pie. But as it turned out, he didn’t just want me to be a stylist. He wanted a stylist/designer/seamstress.

Lucky for him I was up for the challenge!

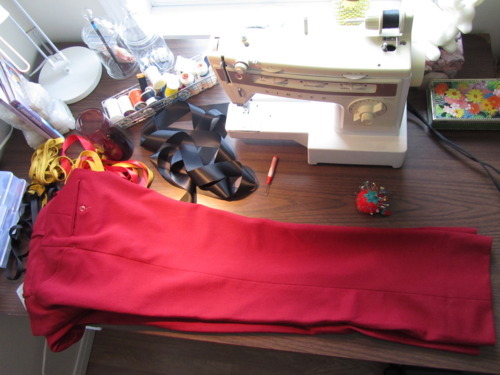
Inspired primarily by a few images we found online of the Balmain Spring 2011 line, here are the simple embellishments that transformed these basic items he already had in his closet into rock star-worthy garments!

DIY Project – Simply Embellished Dress Pants

What you’ll need:
– pants
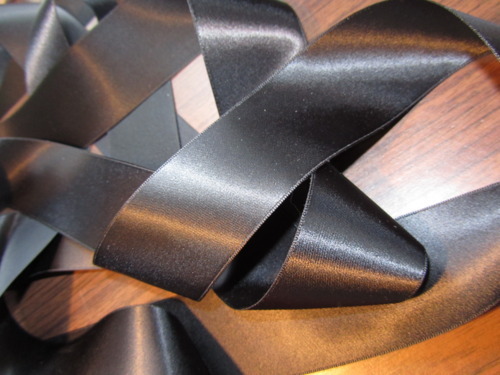
– ribbon
– thread & needle

Step #1: Cut the ribbon two-to-three inches longer than length of pant leg. If the ribbon you’re using is prone to fraying and unravelling, use the flame from a lighter or a match to carefully melt the raw ends of the ribbon.

Step #2: Pin the ribbon to the pants as straight as possible along the side seam. Turn the extra inch-long ends of the ribbon under the bottom hem of the pant and at the waist line. In this case, I decided to end the ribbon stripe just below the belt loops.

Step #3: Stitch the ribbon to the pant as close to the edges as possible to give a clean finish. Et voila!


Photo by Aimee Power.

Other garments to be posted soon!! These include another pair of embellished pants, and two easy ways to update a dress jacket.


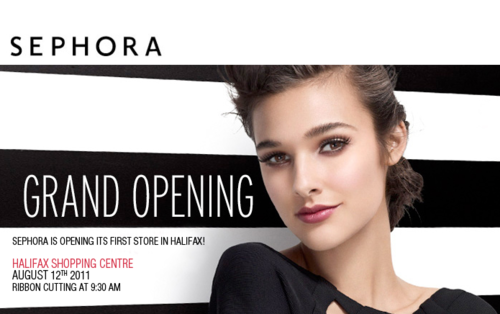
New Sephora in Halifax opens TODAY!!

While, I’m always so excited and happy to be doing makeup for weddings…I’m very sad to miss the opening of the brand new Sephora at the Halifax Shopping Centre this morning!!


This is your first time going to Sephora? Prepare to have your makeup and cosmetic life changed. It’s a very magical shop where you can find top brands like Make Up For Ever, NARS, Chanel, Burberry, Temptu, Urban Decay, and Smashbox.

And if you’re lucky enough to be heading over for the opening…print off and take this coupon with you to get yourself a free makeup bag!

HAPPY SHOPPING, MAKEUP-AHOLICS!!!


Knowing when to say goodbye…

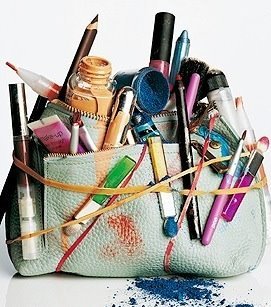
 Throwing out old makeup can sometimes be as difficult a task as saying goodbye to that beautiful pair of well-worn shoes that know every nook and cranny of your feet. But while we all know that expired makeup doesn’t perform as well as fresh, new cosmetics, a lot of us don’t realize that wearing expired makeup can be harmful to our health.

Expired makeup can actually cause skin rashes and irritation, breakouts, allergic reactions, and even infections due to bacteria that gets inside a mascara tube, on an eyeshadow or blush cake, or onto your tube of lipstick.
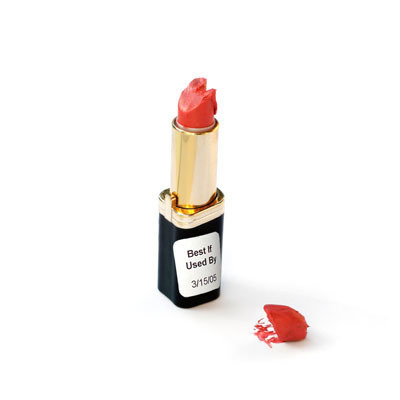
Most cosmetic and skin care items now have expiry dates, but if you can’t seem to find them on your products, here are some basic timelines for the expected shelf life.

Oil-free Foundation: 1 year
Cream or Compact Foundation: 18 months
Concealer: 12-16 months
Powder: 2 years
Blush and Bronzer: 2 years
Cream Blush: 12-18 months
Powder Eye Shadow: 2 years
Cream Eye Shadow: 12-18 months
Pigment Powder: 2-3 years
Eyeliner Pencil: 2 years (should be sharpened regularly to remove bacteria)
Liquid Eyeliner: 3-6 months
*Mascara: 3-4 months
Lipstick: 2 years
Lip Liner Pencil: 2 years (should be sharpened regularly to remove bacteria)
Lip Gloss: 18-24 months
Nail Polish: 2-3 years

*Mascara expires the fastest because of it’s moist, dark environment making it prone to microbial growth.
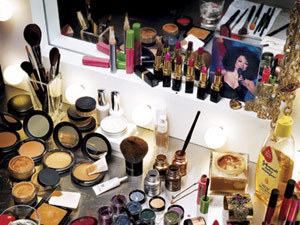
Now, if you’re like most ladies…you will not remember when exactly you bought your products, so can’t accurately figure out the lifespan of them. Here are some tell-tale signs that it’s time to toss ‘em out.

– The product has a rancid smell, or has changed since it was new.
– It has been exposed to heat for a prolonged period of time.
– And obvious change in colour or texture.
– Obvious mould. (Duh…)

Truthfully, it can be nauseating to dispose of unfinished products like money out of a window…so to get the most out of your products and give them a longer shelf life, there are a few things that you can do to ensure you get the most bang for your buck and keep your cosmetics germ-free.

– Wash your hands before applying your makeup.
– Be greedy – don’t share your products.
– Do not try to dilute makeup with water or other liquids.
– Store cosmetics in a dry place away from direct heat or sunlight.
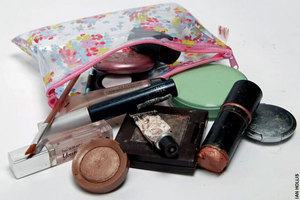
And the upside of ‘out with the old’? It’s always followed by ‘in with the new’! Cleaning out your makeup kit is a great way to get ready for the new colours and trends for the following season!


Brides of 2011

My very first Chinese tea ceremony to do makeup for!! Lokki was such a gorgeous bride, and her family and friends were so welcoming and warm.
I wish Lokki and Todd the most Love and happiness in the years to come!! 


Makeup by Savannah Belsher-MacLean.


Check out my online portfolio!!

My spanky new website is in the works, but you can check out my online portfolio NOW by liking my facebook page!


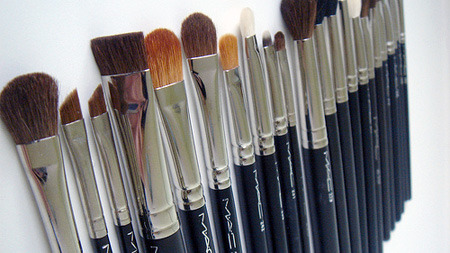
Brush Cleaning 101

I’m often asked how often makeup brushes should be washed and with what soap, etc. Here’s the long and short of it!

Logically speaking, anything touching your face should be clean. You wouldn’t (or shouldn’t) wash your face with the same cloth for months on end without washing it…why would you put makeup on with a dirty brush?

Logistically speaking…washing brushes takes time. And who has spare time to do that?? Luckily, there are a few solutions that don’t include hiring a personal assistant.

If you’re short on time, wiping the brushes with a makeup remover facial wipe such as Neutrogena Deep Clean Oil-Free Makeup Remover Wipes will do the trick. Or try out Lise Watier Makeup Brush Cleaner in between applications. However, doing this regularly without proper shampooing every month or so will lead to the brushes drying out and probably shedding some bristles.

Each month, it’s probably a good idea to shampoo your brushes with a product such as MAC Brush Cleaner or Quo Purifying Brush Cleaner. To wash: add a small amount of shampoo to your palm, swirl brush in your hand, and rinse by dipping in luke warm water. Rinse and gently wring out the brush until the water runs clear. Gently reshape the brushes and allow to air-dry flat on a dry, clean towel with the ends hanging off the edge of the surface.

Tips for cleaning makeup brushes:
– Never fully submerge your brushes! Dip the hairs in luke warm water to avoid getting moisture up into the brush.
– Never use a blow dryer to dry your brushes as this will dry out the bristles.
– To steer clear of possible infection, don’t share makeup brushes without sterilizing them first.


Oddz ‘n Endz

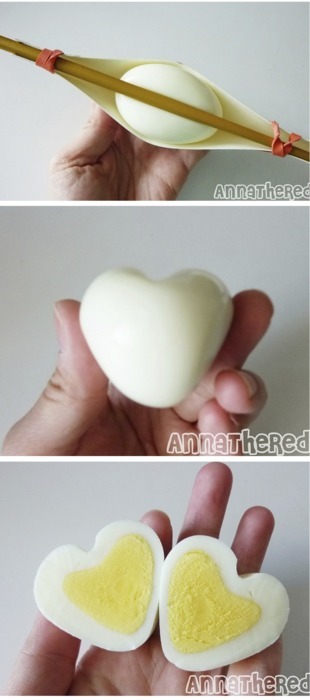
I recently discovered this sweet little post on How to Make a Heart-Shaped Egg.

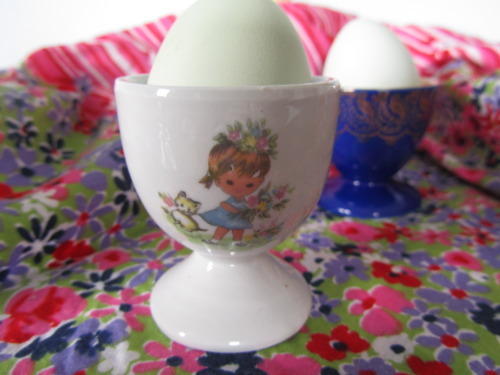
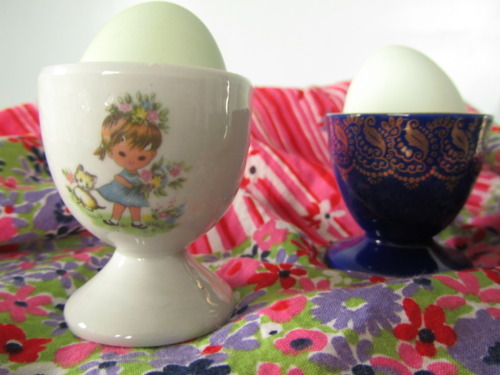
And, while I haven’t found the patience to actually make one of my own, I certainly had a sudden craving for boiled eggs, and decided to take out my most adorable vintage egg cups to help me spruce up this dark and dreary Sunday morning!


PS. Yes, my little eggs are green. Courtesy of a beautiful Bantam chicken like this.